A logo for wagner nursery inc. a family tradition since 1946
,
This is a placeholder for the Yext Knolwedge Tags. This message will not appear on the live site, but only within the editor. The Yext Knowledge Tags are successfully installed and will be added to the website.

Where family, quality and service grow together!

Serving the Tri-State Area


Blog Layout

How to Turn Your Home into a VacationRental Guests Will Love
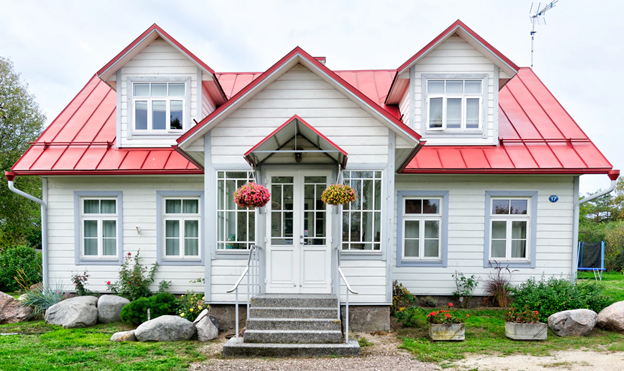
Photo By: Pixabay


Purchasing a home is all about your wants, needs, and dreams, but when you are buying a home to turn into a vacation rental, your mindset shifts. Instead of only thinking about what you want, you have to think about what guests will want too. If you are thinking about buying a home and turning it into a vacation getaway, keep reading for some helpful tips from Wagner Nursery.


Choose the Right Location


When you are trying to find the perfect spot for your vacation rental, one thing you might not think about is the weather. Opt for a location with several seasons of rental use. Check out the nearby amenities and attractions, and make sure it is convenient and accessible to selling features. Remember, the location you choose is permanent, so be picky so you can enjoy the benefits of owning a vacation home.


Vacation Rental Business Quick Start Guide


Are you ready to get started? It's easier than you might think. By creating an LLC in Iowa, you officially establish a business entity. The LLC Iowa creation process is relatively simple, and it’s made easier if you use an online formation service (which is much less expensive than working with an attorney). You’ll need this business entity in order for your bank to set up your official small business checking account, and your business checking account is what you need for all that cash flowing in from the vacation rental financing you secure. Last but not least - work with a great Realtor who can search high and low for your first investment property.


Make the Right Updates


When updating your home and getting it rental-ready, choose projects that will add value to your home, such as stainless steel appliances, hardwood floors, and an open floor plan. You might be tempted to put all your effort into the master bedroom, but the other bedrooms will house guests as well, so be sure the look and theme of your home is consistent throughout.


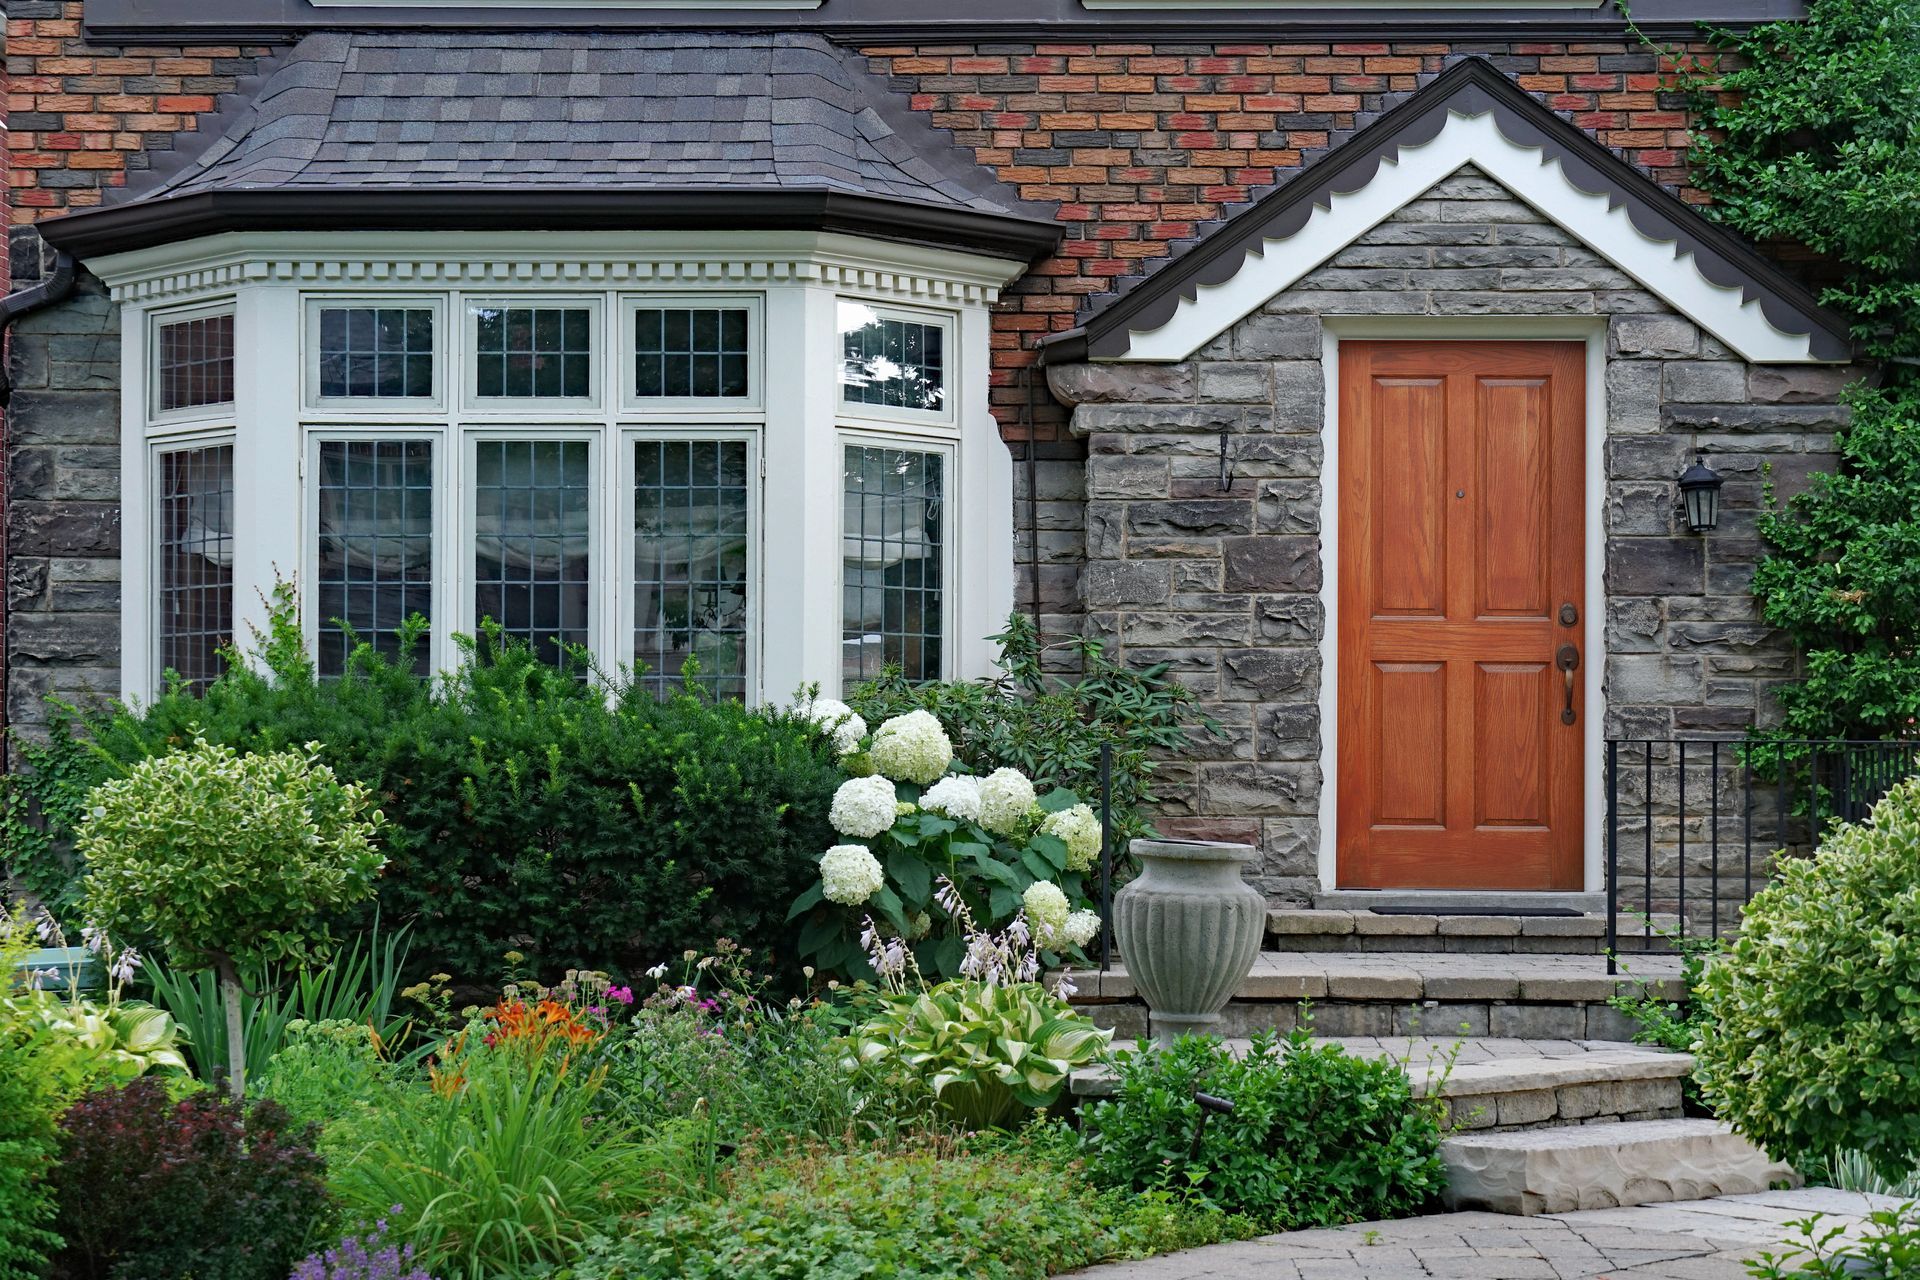
Don’t forget to spruce up your landscaping too. You can find gorgeous plants to boost your curb appeal and lure in potential renters at Wagner Nursery, and we can even redesign and install a gorgeous landscape to set your home apart from the competition. Finally, give the interior and exterior of your home a fresh coat of paint, including doors, shutters, house numbers, and mailbox.


Stay on Top of Upkeep


When something breaks or goes wrong, guests aren’t responsible for it, and they certainly aren’t going to stay on top of cleaning, yard work, and maintenance for you. If you live nearby and have a schedule that is flexible, you can handle property management yourself. However, it can be a lot of work, especially during the busier seasons, so you might consider hiring a cleaning/maintenance service or a vacation rental management company. If you choose to do basic upkeep on your own, be sure to visit often to refresh toiletries, linens, paper towels, etc. Add a special touch with a guest book that includes a list of your own local favorites, and don’t forget to include an evacuation plan if your rental is located in an area that is prone to experiencing bad weather.


Make Your Rental Stand Out


When guests are browsing potential rentals, they’ll come across your listing online, and you want yours to stand out. Grab a nice camera and take at least 2-3 photos of every room, and several more of the exterior and scenic views so viewers will be able to see the inside and outside of your home from every angle. Do some staging before you start photographing, including cleaning, lighting , and adding small touches such as fresh flowers, a bowl of fruit, or neatly-arranged dinnerware on the table. Be sure to turn off the flash so that the lighting isn’t too harsh, and consider taking photos on a cloudy day to avoid weird shadows.


You’ll need a description for your rental as well. In addition to the traditional information - such as number of bedrooms and bathrooms, amenities, and square footage - use descriptive words for the home itself, such as “modern,” “new,” or “vintage.” Tell guests what the area is like, whether it is private, secluded, friendly, or urban. Don’t forget to highlight any views, overlooks, or special amenities.


Purchasing a home to turn into a vacation rental is an exciting new adventure for you to take on. Work with a realtor to find the perfect house and location, and make upgrades to attract guests. Showcase your home with photos and a detailed description, and wait for the first guest to arrive.


For all of your lawn and garden needs, visit Wagner Nursery. We serve the entire Tri-State area, so if you can’t visit us in person, call 563-583-9261 to learn more about our services and how we can help beautify your home.

perennials
November 21, 2024
If you're looking to plant perennials to create the perfect home garden, we can help. Take a look at this blog to see a few tips.
compost
September 23, 2024
When you have questions about compost and lawn care, ask your local nursery! Keep reading to see some questions you can ask.
perennials
April 17, 2024
Are you looking to take your garden to the next level? Take inspiration from this list of top-rated perennials to consider adding to your landscape.
shrubs
February 15, 2024
Are you an avid gardener looking to make plans for this year's gardening season? Here are some things to plan to keep your property and shrubs beautiful.
compost for sale
January 15, 2024
Let's go over some of the top benefits you can expect from using compost. Next time you see compost for sale, remember this blog.
shrubs
October 17, 2023
Shrubs are a great way to make your yard look even more beautiful! Check out these four reasons to consider having the experts add shrubs to your property.
perennials
June 15, 2023
Interested in adding perennials to your home but unfamiliar with them? Here are some benefits that these plants can provide if incorporated into your garden!
shrubs
April 11, 2023
If you're thinking about adding shrubs to your home's landscaping, you can experience many incredible benefits. Stop by today to find your perfect shrubs!
By Hibu Websites March 30, 2021
A Guide to Growing Strawberries August 21, 2020August 21, 2020 by HappyDIYHome Staff Growing strawberries is a great way to get fresh fruit. It is also a pleasingly straightforward process. With just a little time and effort you will be able to enjoy your own personal supply of fresh flavor filled fruit. Many gardeners also see growing strawberries as a reliable, and productive, way to introduce ground cover. If you don’t want the plants to spread throughout your garden, or if space is at a premium, growing strawberries in containers is also possible. If you want to add some fruit to your garden, growing strawberries is a great place to start. These easy going plants are quick to establish and fruit. June bearing varieties are also known as day sensitive plants. During the summer months the plants set out long runners before setting buds in the fall. Fruit is produced the following June. June bearing plants are further classified by grouping into Early Season, Mid Season and Late Season. Planting a combination of all three allows you to further extend the harvest period. Of the early season cultivars, Christine is known for its large, sweet tasting berries. Honeoye is another reliable early season cultivar which produces sweet tasting fruit. Alice AGM is a reliable mid season plant producing sweet and juicy fruit. It is also pleasingly resistant to disease. Another mid season favorite is Cambridge Favorite AGM. Like Alice AGM, this is a disease resistant variety that produces flavor filled, juicy fruit. Pegasus AGM is a heavy cropping, reliable mid season fruit that is also disease resistant. Similarly, Florence is a late season, disease resistant plant. It is prized for its large, glossy fruit. Everbearing varieties, also known as perpetual strawberries, bud in the summer and fall. They produce a large crop of fruit in the spring. This is followed by smaller crops in the summer and fall. If the weather is favorable a third crop may also be produced. Sometimes classed as a separate variety, or included in the everbearing category is the Day Neutral Strawberry. This cultivar is not affected by the length of the day. Instead they fruit continuously as long as the temperature remains between 35 and 85 °F. Seascape is a day neutral everbearing strawberry. It is suitable for growing in a range of conditions, producing firm, red fruit. Fagaria ‘Ozark Beauty’ is one of the most popular everbearing cultivars. Fruiting in Spring and late Summer the plant is prized for its large, flavor filled berries. It is also pleasingly disease resistant. Mara de Bois is another everbearing plant which produces intensely flavored fruit. The berries are similar in taste to wild strawberries. Whichever variety, or varieties, you choose make sure that you purchase the plants from a reputable supplier. This ensures that you are purchasing healthy, disease free plants. Where is the Best Position for Growing Strawberries? Strawberries can be purchased as either bare rooted runners or as potted plants. Runners are best planted in early fall or early spring. Potted plants are usually available from late spring into the summer. They can be planted as soon as you purchase them. Growing strawberries is most successful when they are planted in rich, moist soil. It should also be well-draining. If you have poor soil try growing in containers or raised planters. Plant in a light, fertile position. Avoid areas that are prone to frost. Don’t plant in soil that has recently held chrysanthemums, tomatoes or potatoes. Like strawberries, these are all prone to the harmful verticillium wilt. Plant in well draining, rich soil. Growing strawberries like to set out runners. Allow for lots of space between the plants when planting. Avoid planting in windy positions. Planting in windy positions can deter pollinators from visiting flowers. In USDA zones 6 and colder, plant outside in the early spring. This allows the plants time to establish and develop extensive root systems before the winter temperatures hit. Pinch off flowers in the first spring or summer after planting. In USDA zones 7 and warmer you can plant in the spring or fall. These plants will fruit the following spring. Growing strawberries is most successful in temperatures between 60 and 80 ℉. In colder conditions, down to 22 ℉ growing strawberries is also possible as long as you protect the crowns from frosts. Your chosen position should be light. Growing strawberries requires between 6 and 10 hours of sunlight every day. Plants in darker positions don’t produce as much fruit. How to Plant Use a shovel to work over the soil before planting. The soil should be neutral or slightly alkaline in profile. A pH of 5.8 to 6.2 is ideal. The plants will grow in soil profiles outside this range, just avoid anything too extreme. If you are unsure of the nature of your soil, try using a soil test kit. This is a quick and accurate way to find out what type of soil you are growing in. Dig in garden compost or well-rotted manure, about two buckets per square yard or square meter. You can also work in general purpose fertilizer. An application of around 100 grams per square meter or 3 oz per square yard is ample. To plant, dig a hole large enough to hold the root system of the plant. You can trim the roots slightly, to a length of about 4 inches, if they are overly large. Spread out the roots as you place the plant in the hole. When planting remember that if the crown is buried it may rot. The roots should just be covered with the crown sitting lightly on top of the soil. The plant should be in this position before you firm the soil down. Planting too deeply can cause plants to rot. Similarly plants that are too shallow can quickly dry out. Space individual plants 12 to 18 inches apart. Allow a 30 inch gap between rows. This may seem a large space, but remember the plants shoot out runners as they spread. Providing lots of room between the plants means that they won’t become entangled. It also helps to keep plants healthy. After planting water well. Place a layer of organic mulch between the plants. This helps the soil to stay cool and retain moisture. It also helps to keep the fruit above the soil. Fruit allowed to contact the soil can rot. Mulching around plants helps to keep the fruit away from the soil. It also helps the soil to conserve moisture and suppress weed growth. In colder climates mulch again in the fall, when temperatures drop to around 20 ℉. This time mulch over the plants. Straw or shredded leaves are great winter covers. A layer of organic mulch protects the crown against winter temperature and weather damage. Remember to remove the mulch in the spring as temperatures rise. Planting in Containers Growing strawberries is also possible in containers. Don’t overplant a container. This can stunt growth and reduce your yield. A 12 to 14 inch container comfortably holds 3 plants. Your chosen container should be clean and have drainage holes in the bottom. Fill the containers or planters with fresh potting soil. Work in compost for an extra boost. Plant as described above. Planting in self watering pots ensures that your plants stay hydrated and happy even during the warmest summer periods. Growing Strawberries Care Tips Once planted, growing this fruiting crop is pleasingly easy. Be sure to weed regularly around the crown of the plants. This helps to prevent new growth from becoming smothered. As the fruit begins to develop, place straw underneath the fruit. Fibre mats, such as these Coconut Flower Pot Liners can also be cut up and used. This helps to suppress weeds as well as keeping the fruit dry and clean. Wet fruit, or fruit allowed to contact damp soil for a prolonged period can rot. How to Water Water regularly, especially when the plants are in fruit. In general, if it doesn’t rain, each plant requires between 1 and 2 inches of water a week. This varies depending on the growing conditions. If you are unsure, water only when the soil is dry. The Yoyomax Soil Test kit allows you to accurately monitor the moisture content of your soil. It also allows you to monitor how much light the plants are receiving as well as the health and pH levels of the soil. When watering try to keep the foliage and the crown of the plant as dry as possible. If you struggle to carry a heavy watering can around the garden, try investing in an expandable hose. These are easy to use and tidy away. Applying a natural mulch, such as straw, helps to protect fruit from slugs and snails. As organic mulches slowly break down they also help to enrich the soil. Fertilizing Strawberries When planting apply a balanced organic fertilizer. A dose of one pound per 100 square feet is sufficient. Repeat this application after the plants have finished bearing fruit for the year. In colder climates try not to fertilize in the late season. Fertilizing as the temperatures are about to fall may cause new foliage to emerge and become damaged by winter frosts. If you want an alternative to chemical products, try making your own plant fertilizer. This is a pleasingly rewarding process that allows you to know exactly what you are putting in your soil. Be careful not to over fertilize your plants. This can cause excessive foliage production often at the expense of flower and fruit production. How to Propagate Strawberry Plants Growing strawberries spread by setting out stem runners. These then root in the soil, forming new plants. To propagate strawberries, allow the runners to root. Once the roots have formed cut the stems connecting the plants. You can now carefully dig up the plantlets and plant in a new location. This form of propagation is best done in early fall. If you want to speed up the process pin down the runners, forcing them to contact the soil. Pinning the runners down in this manner encourages the plant to form new roots. Providing Winter Protection In frost prone areas prune and tidy up the plants once fruiting has finished. Cover with a straw mulch or horticultural fleece such as the Agribon AG-19 Frost Blanket. Plants in containers can simply be moved inside or to a more sheltered position. Should frost damage the plant, prune away affected areas. Properly protecting plants during the fall and winter months helps growing strawberries to return stronger the following year. Companion planting Strawberries are largely easy going plants. This makes them a good companion plant. Avoid planting in the same soil that has recently grown eggplants, peppers and tomatoes. These plants are all susceptible to verticillium wilt which can also affect growing strawberries. Strawberries also seem to benefit from growing close to borage, bush beans, caraway and lupins. Avoid growing strawberry plants near brassicas such as cauliflowers. Members of the brassica family often have their growth stunted if planted too closely to strawberries. How to Prune and Renovate Growing Strawberries If you have planted in the spring, in the first year cut away any flowers that form on the plant. This is best done with a sharp garden scissors. Preventing the plants from fruiting in their first year encourages the plants to put their energy into forming a strong root system. It also helps to increase the yield in the second year. June bearing plants produce masses of runners. These should not be pruned away. Everbearing plants produce fewer runners. These often carry small, tasteless fruit. The runners of day neutral varieties can be cut away without harming fruit production. Don’t prune fall fruiting plants. Once fruiting is complete cut away old or dying foliage. Once fruiting is finished remove nets, mats and mulch. This allows birds to clear the plants of any pests. Remember, if you are in a colder area, to provide some winter protection. Renovating Strawberry Plants To keep fruit production high, some gardeners like to renovate their strawberry beds. While this isn’t necessary it can help to keep beds productive. If you don’t want to renovate the beds try growing the plants as annuals or planting a few new strawberry plants every year. Renovating is the process of thinning existing plants and allowing fresh runners to root and form new plants. Without renovating, plants can form thick masses, slowly entangling themselves. This harms fruit production. June bearing plants should be renovated every year. Everbearing varieties can be renovated once every 2 to 4 years. How often you renovate depends on the spread and growth of the plants. The best time to renovate is after the plants have been harvested. Following harvest plants become semi-dormant for a period. To renovate, weed the bed around the plants. This helps the plants to re-establish themselves. Cut away the foliage from the plant. This is particularly important if the foliage is diseased or infected. Thin out the plants digging up any that are too cluttered. The rows should be spaced about 12 inches apart. Each plant should be 4 to 6 inches apart. Side dress the row with a general purpose fertilizer, apply half an inch to an inch thick layer. Water well. Alternatively, you can lift and replant rooted runners in the fall. Gardeners growing in containers often find yields are best if they plant new plants every year. Renovating your strawberry plants helps to keep them healthy and productive. Common Pests and Diseases If correctly planted, growing strawberries is a largely trouble free process. Young or growing plants require protection from slugs and snails. Birds can also devastate crops, quickly removing all your fresh fruit. Covering the plants with netting is the easiest way to protect your harvest. Grey mould or botrytis is common if growing in damp or humid conditions. As the name suggests this disease causes grey, fungal growth to form on foliage. It can also damage the fruit. Cut away and destroy affected areas. Spacing correctly and keeping the foliage as dry as possible helps to prevent this. Plants growing in humid areas may suffer from powdery mildew. This causes foliage to shrivel. It may also cause white powder to appear on the plants. Correctly spacing the plants, so that air is able to freely circulate, and keeping the foliage as dry as possible helps to prevent mildew. Reducing the temperature around the plants and keeping the soil moist also helps to keep the plants healthy. If vine weevils strike apply a chemical or organic control. Aphids and other bugs can also be washed away or removed with an application of insecticidal soap. Neem oil can also be wiped over the leaves to remove aphids. How to Harvest Growing strawberries is mainly done for the fruit. It can take around a month for fruit to form from pollinated flowers. The speed at which your fruit ripens depends on the growing conditions as well as the variety you are growing. An ideal container plant, some fruit may appear earlier in warmer conditions. The strawberry is at its sweetest when they are fully ripe. This, for most varieties, is when the berries are fully colored and have sat on the vine for a few days. To harvest, cut the fruit away from the plant. Strawberry fruits bruise easily, cutting the stem above the berry allows you to harvest without damaging the fruit. Wait until fruits are fully formed and full of color before harvesting. Picking fruit that is too small or unripe can be unsatisfying. Unripe fruit often lacks flavor. Bright, colorful and full of flavor, there is nothing quite like homegrown strawberries. By following the steps in this guide next summer will see you enjoying homegrown fruit in your own garden.
By Hibu Websites March 30, 2021
January 4, 2021 Isabella Caprario Starting a garden is an excellent way to enjoy beautiful plants and delicious fruits, herbs, and vegetables right in your backyard. As a new gardener, it’s vital to be sure you’re choosing plants that will thrive in your climate. The USDA Plant Hardiness Zone Map helps you determine which plants will grow best in your part of the country. Knowing what to plant in your garden means a successful yield, year after year. Read on for some helpful gardening tips that will ensure your fruit, herbs, plants, and flowers live long and prosper. What are the USDA Plant Hardiness Zones? The USDA (United States Department of Agriculture) designed a map of the United States that separates different country regions into 11 numbered zones. Each zone is approximately 10 degrees Fahrenheit warmer or colder in an average winter than the zone directly adjacent to it. Most plants you purchase from your local nursery or home improvement store will list their hardiness zones on the packaging to help make your selection easier. These zones are crucial to determine which types of plants will survive the winter in various regions of the country. If temperatures get too cold, certain species will perish, while others may thrive, depending on their hardiness zone. These plant hardiness zones are established to help make gardening and growing plants more manageable. They’re also vital for farmers or anyone who needs to plant fruits and vegetables for survival. Hardiness zones are most important when planting perennial plants since they typically live past a single growing season. If you’re planting perennials in your garden, you’ll need to know which ones will survive the winter based on their zone. Any plant in your garden that’s outside of its hardiness zone will likely wilt, have stunted growth, or die completely. That’s why it’s essential to grow plants that are suitable for your specific region and climate. Understanding how plants and climate are related will make it much easier for you to plant and enjoy a successful garden for the long-term. How to use your planting zone Before you begin planting your garden, determine your hardiness zone. You can find this by visiting the USDA website and entering your zip code, or by viewing the USDA Plant Hardiness Zone Map and finding your location. Once you know your zone, look for plants that have it listed on the tag. Most nurseries will also include the range of temperatures at which different plants are “hardy,” or able to survive. It’s important to note that climate isn’t the only factor that affects the hardiness of plants. The amount of sunlight, water, and the nutrients in the soil also play a vital role in their survival. While you should always select plants that are within your zone only, they should also be planted in the right areas of your yard to ensure they get the amount of sunlight they need. Planting vegetables, flowers, herbs, and fruit Once you have a vision for your garden, it’s a good idea to establish a planting calendar. This calendar can help you plant a variety of different items at specific times of the year to ensure good growth. Knowing when to plant veggies, flowers, herbs, and fruit is a wise way to keep your garden happy, healthy, and beautiful. What is a planting calendar? A planting calendar helps you to calculate the best time of year to start seeds and plant your garden. This calendar times your planting based on the first and last frost dates in your region. Frost dates are the first and last average day (or range of days) when frost is common in a specific zone. Since many plants cannot handle the extreme cold temperatures of frost, make a note of your frost date so that your plants are protected. How to calculate plant dates? To help you calculate your plant dates, use the first or last frost dates for your zone or zip code as a guide. Ideally, you should plant items in the spring after your last expected frost date, and items in the fall before your first expected frost date. If you plant something too early in the spring, nighttime temperatures may dip too low for it to survive. Items planted too late in the fall may be vulnerable to the frost of winter before they’re fully established. When to plant vegetables? It’s best to plant your vegetables when there is no longer a risk of frost. This is particularly important when plants are new and quite vulnerable to the dangers of frost and extreme cold. Certain types of vegetables do well in the warmer summer months, such as corn or tomatoes. Others can survive just fine when planted in early spring, like kale or broccoli. In general, plant your vegetables when the danger of frost is completely gone to ensure success. When to plant flowers? Use your first and last frost dates as a guide when planting flowers. Check the type of flower carefully to determine if it’s able to remain hardy in your planting zone. Some species of flowers can survive a light frost, while others require the soil to remain at consistently warm temperatures to thrive. Take the type of flower and your frost dates into account before you begin to plant flowers to ensure colorful, bountiful blooms. When to plant herbs? You can start most types of herbs from seed and keep them indoors or outside in a protected area. Most young starter herbs (small, young plants) can be put directly in the ground, but new seeds should be germinated indoors. Check the specific planting instructions for each herb to determine which ones can be started outside. All herbs should be planted at least several weeks before the last frost for best results. When to plant fruit? Fruit trees should be planted in the early spring or late winter if you’re planting them in the ground. However, if you plan to grow fruit trees in containers, they tend to do best between September and May. Avoid planting fruit trees in the peak of winter, since frost is almost always guaranteed to damage or kill most plants that bear fruit. Certain fruits that go in the ground, like strawberries, should be planted approximately six weeks before the last frost date in your zone. Indoor and outdoor seeds If you’re planning to start your garden from seeds, certain plants do best when germinated indoors, while others may thrive outside. Growing seeds indoors protect the new plants from the dangers of pests, inclement weather, and hungry wildlife. However, many plants prefer to begin their lives with the seeds placed directly in the soil. If you’re starting your garden with seeds rather than starter plants, check the packaging carefully for growing instructions. Most will show you whether the plant should be germinated inside first, or if it will do better by being sown outdoors. Rooted vegetables like carrots and radishes prefer to grow from seed directly planted in the ground. Tomatoes, peppers, and eggplant yield much better crops when started indoors, then transplanted outside once they’re established. Vegetables that enjoy heat like cucumbers, melons, and beans do best when sown in the ground after the risk of frost has passed. Many annual flowers like petunia or amaranth prefer to be started indoors. Others like cosmos, zinnia, and marigold prefer to be planted from direct-sown seed. Flowers like morning glory and poppies do best in cool soil and prefer to be planted directly into the ground early in the season. Gardening Tips Now that you know more about plant hardiness zones, it’s time to get your garden started. Here are some helpful gardening tips that will make the process easier. Pick a spot. Choose an area of your backyard where your garden will get the best sunlight, and that’s easiest for you to access. Most plants require 6-8 hours of sunlight each day to thrive. Clear the ground. Remove grass, weeds, and rocks from the area, and clear a space where your garden can grow. Add a layer of compost in winter so that it’s ready for planting by spring. Improve the soil. Fertilize your soil using organic matter, such as decaying leaves, grass clippings, or compost to give it a boost of nutrients. Work the soil. You’ll need to till the soil to create a healthy environment for roots. Use a rototiller to gently till the soil without overworking it so that it doesn’t disturb microorganisms that may live there. Pick your plants. Choose your new plants for the garden based on their hardiness zone and your planting calendar. Look for healthy starter plants at your local nursery or shop online. You can start slowly with a few easy plants before moving on to more. Plant. Dig holes in your garden area, and place your plants in a row, making sure that you space them apart according to the planting instructions. Gently loosen the roots before placing them into the ground, then cover each plant with a layer of soil and water them. Water. Water your seedlings daily, and water your transplants every other day or so. Once the plants in your garden are established, you can water them based on your climate, soil moisture levels, and how much water each type of plant requires for maintenance. Water your garden as early as possible each day to minimize evaporation. Maintain your garden. Keep your garden healthy by pruning off dead leaves and branches. Remove weeds as needed, and look for signs of pests so you can keep them under control. Cover your soil with approximately two inches of mulch to keep moisture in and weeds out. Climate types and plant hardiness examples The type of climate you live in can play an important role in how well your garden thrives. Here are a few examples of various climates in the United States and their coordinating plant hardiness. Arizona. Known for its hot, dry climate, Arizona is located in zones 9-10 in the southern half of the state, and zones 6-7 in the northern half. Florida. Florida experiences a warm, humid climate almost year-round. This state is located in zone 8 at the top half of the state and ranges closer to zones 9-11 as you approach the Florida Keys. North Dakota. Temperatures in North Dakota can easily dip into the negatives for much of the winter, putting this state in zones 3-4. Louisiana. With its mild climate and plenty of moisture, Louisiana is located in USDA hardiness zones 8-10. Washington. Plenty of rain and a long coastline gives Washington a wide range of hardiness zones. On the west coast of Washington, the zone is between 8-9 while closer to the eastern part of the state has a hardiness zone of 6-7. Portions of the north feature lower zones between 4-5. With the right plants for your climate and hardiness zone, you can enjoy a successful, beautiful garden that will last for years to come. Start by learning about your specific climate, and only choose plants that you know will thrive. Use a planting calendar to help you determine the times of the year when frost is present. With some practice, time, and patience, you can enjoy a fruitful garden that thrives.
More Posts
Share by: